Running HuggingChat fully locally with Docker
Motivation for writing this
I’ve been messing around with locally-deployed models over the last week or two (currently includes running Whisper.cpp on a raspberry pi and trying to shove in m.2 -> PCIE adapters just to see what would happen).
This then led me to “what could I do about chatgpt, on ~24-48GB of vRAM?” The answer was Qwen/Qwen2.5-72B-Instruct-AWQ, running locally with HuggingChat.
What comes next is the steps it took me to go from idea -> deployment, navigating (imo) some easily-overwhelming documentation, and the steps I took to remedy it.
What is HuggingChat?
HuggingChat (or ChatUI) is an OSS by Hugging Face aimed to glue the pieces together of “I have this model, now how do I quickly make a chat app for it.”
It operates on three parts:
- Front-end Chat UI
- Back-end mongo DB (for chat logs)
- The model itself (for my case, hosted via vLLM)
Getting up and going
I won’t go into the nitty gritty, I’m simply going to help you deploy Qwen2.5-72B-Instruct-AWQ locally, and hopefully in under an hour.
(Note: most of these directions came from this gist, as the official documentation in the README was either incorrect or overwhelming).
Requirements:
- Docker
- Some place to store your model
First step: MongoDB
Mongo is used to keep your chat history fully local when running ChatUI (which is what I’ll refer to HuggingChat as from now on).
For this, I used docker-compose running on my raspberry-pi to host the logs (since it’s not resource-intensive at all, and already runs low-level jobs like my pi-hole and homeassistant):
services:
  mongo-chatui: # <- What to name the service
    image: mongo:latest # <- mongodb image to use
    container_name: mongo
    ports:
      - "8097:27017" # <- 8097 is what *we* will use to send the data
    environment:
      MONGO_INITDB_ROOT_USERNAME: root
      MONGO_INITDB_ROOT_PASSWORD: some_password
    volumes:
      - mongo-data:/mnt/datasets/db # <- specify where you want data stored

volumes: # <- specify that as a volume to use
  mongo-data:
Then just do docker compose up -d and now your database is fully up and running. If you want to test, I used mongosh:
mongosh "mongodb://root:password@localhost:8097" Getting the Model Running
Next up we need to actually download and run the model. Use whatever method you want to download the repo, I have my own small package called hf-model-downloader to pull down the weights and everything.
This now assumes you have all the required stuff to run Qwen2.5-72B-Instruct-AWQ. We will assume you saved them in a folder called qwen_model for the rest of this blog.
For this part, I used vLLM and some help from Reddit with some reasonable params to max out 48gb:
docker run \
  --name my_vllm_container \
  --gpus '"device=0,1"' \
  -v /my_path_to_models_folder:/root/models \
  -p 8000:8000 \
  --ipc=host \
  vllm/vllm-openai:latest \
  --model /root/models/qwen_model \
  --served-model-name Qwen/Qwen2.5-72B-Instruct-AWQ \
  --pipeline-parallel-size 2 \
  --gpu-memory-utilization 1 \
  --max-num-seqs 2 \
  --max-model-len 2292 \
  --block-size 32 \
  --max-num-batched-tokens 2292
This basically exposes a chat-gpt compatible API at the pi’s IP and port 8000.
ChatUI
Now for the final step, ChatUI.
To make this easy, here is my .env.local file:
# Use .env.local to change these variables
# DO NOT EDIT THIS FILE WITH SENSITIVE DATA
HF_TOKEN=hf_xxx

### MongoDB ###
MONGODB_URL=mongodb://root:password@xxx.xxx.xx.xx:8097
MONGODB_DB_NAME=chat-ui
MONGODB_DIRECT_CONNECTION=false

MODEL_STORAGE_PATH=/mnt/models

ALLOW_INSECURE_COOKIES=true
ENABLE_ASSISTANTS=true

TEXT_EMBEDDING_MODELS=[{"name": "Xenova/gte-small","displayName": "Xenova/gte-small","description": "Local embedding model running on the server.","chunkCharLength": 512,"endpoints": [{ "type": "transformersjs" }]}]

# 'name', 'userMessageToken', 'assistantMessageToken' are required
MODELS=[{"name": "Qwen/Qwen2.5-72B-Instruct-AWQ","id": "Qwen/Qwen2.5-72B-Instruct-AWQ","endpoints": [{"type" : "openai","baseURL": "http://192.168.68.75:8000/v1",}],"preprompt": " ","chatPromptTemplate" : "{{#if messages.[0].role}}{{#ifSystem messages.[0]}}{{#if tools}}<|im_start|>system\n{{messages.[0].content}}\n\n# Tools\n\nYou may call one or more functions to assist with the user query.\n\nYou are provided with function signatures within <tools></tools> XML tags:\n<tools>\n{{#each tools}}\n{{json this}}\n{{/each}}\n</tools>\n\nFor each function call, return a json object with function name and arguments within <tool_call></tool_call> XML tags:\n<tool_call>\n{\"name\": <function-name>, \"arguments\": <args-json-object>}\n</tool_call><|im_end|>\n{{else}}<|im_start|>system\n{{messages.[0].content}}<|im_end|>\n{{/if}}{{else}}{{#if tools}}<|im_start|>system\nYou are Qwen, created by Alibaba Cloud. You are a helpful assistant.\n\n# Tools\n\nYou may call one or more functions to assist with the user query.\n\nYou are provided with function signatures within <tools></tools> XML tags:\n<tools>\n{{#each tools}}\n{{json this}}\n{{/each}}\n</tools>\n\nFor each function call, return a json object with function name and arguments within <tool_call></tool_call> XML tags:\n<tool_call>\n{\"name\": <function-name>, \"arguments\": <args-json-object>}\n</tool_call><|im_end|>\n{{else}}<|im_start|>system\nYou are Qwen, created by Alibaba Cloud. You are a helpful assistant.<|im_end|>\n{{/if}}{{/if}}{{/if}}{{#each messages}}{{#ifUser}}<|im_start|>user\n{{content}}<|im_end|>\n{{/ifUser}}{{#ifAssistant}}<|im_start|>assistant\n{{content}}{{#if tool_calls}}{{#each tool_calls}}{{#if function}}\n<tool_call>\n{\"name\": \"{{function.name}}\", \"arguments\": {{json function.arguments}}}\n</tool_call>{{/if}}{{/each}}{{/if}}<|im_end|>\n{{/ifAssistant}}{{#ifTool}}{{#unless @last}}<|im_start|>user\n<tool_response>\n{{content}}\n</tool_response><|im_end|>\n{{/unless}}{{/ifTool}}{{/each}}","promptExamples": [{"title": "Write an email from bullet list","prompt": "As a restaurant owner, write a professional email to the supplier to get these products every week: \n\n- Wine (x10)\n- Eggs (x24)\n- Bread (x12)"}, {"title": "Code a snake game","prompt": "Code a basic snake game in python, give explanations for each step."}, {"title": "Assist in a task","prompt": "How do I make a delicious lemon cheesecake?"}],"parameters": {"temperature": 0.7,"top_p": 0.8,"repetition_penalty": 1.2,"top_k": 40,"truncate": 1000,"max_new_tokens": 1024,"stop" : ["</s>", "</s><s>[INST]"]}}]

### Feature Flags ###
LLM_SUMMARIZATION=true # generate conversation titles with LLMs
ENABLE_ASSISTANTS=false #set to true to enable assistants feature
ENABLE_ASSISTANTS_RAG=false # /!\ This will let users specify arbitrary URLs that the server will then request. Make sure you have the proper firewall rules in place.
REQUIRE_FEATURED_ASSISTANTS=false # require featured assistants to show in the list
COMMUNITY_TOOLS=false # set to true to enable community tools
ALLOW_IFRAME=true # Allow the app to be embedded in an iframe
USE_LOCAL_WEBSEARCH=true
To make this work for your own model, you need to modify the MODELS array with what you’d like. A few flags:
- Docker will not like whitespace so I had to remove all whitespace from the example config they give us. Also I just went and found the chat template on Hugging Face, then told o3 to convert it from HF to the one based on their example (might not have been needed, but just documenting)
- I set
MONGODB_URLto our earlier deployed mongo database
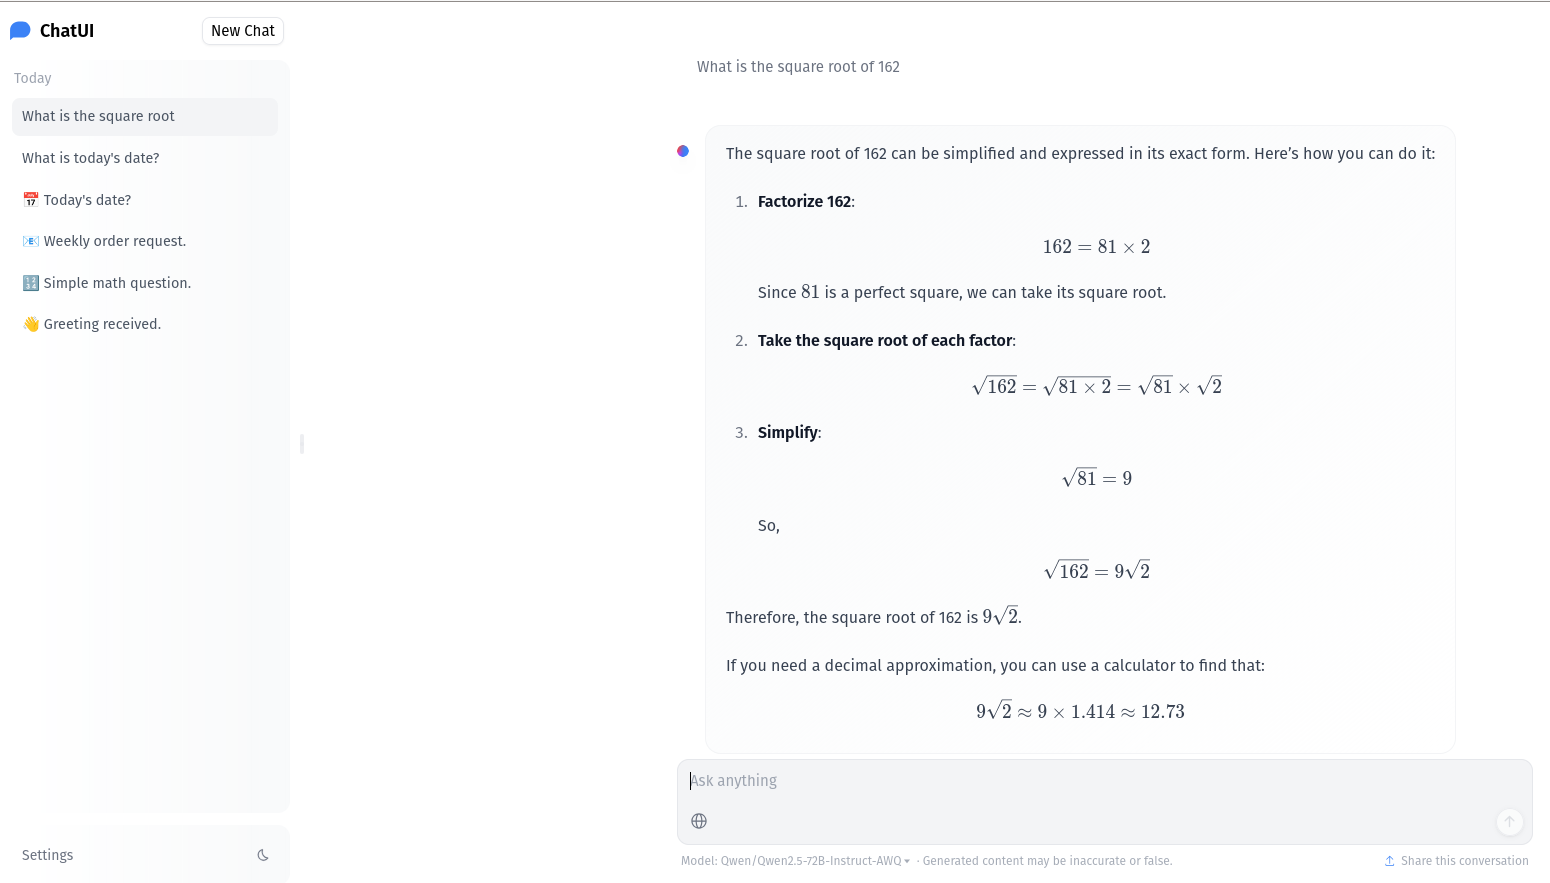
From here, simply run it:
docker run -p 3000:3000 --env-file .env.local ghcr.io/huggingface/chat-ui:latestAnd now you should have a beautiful ChatUI instance going where you can speak to your own LLM!