Leveraging Hugging Face for Research, Docker is the Key
What makes a good Hugging Face Project?
Before we get into why Docker and the Hub matters, let’s think about what the community relies on in terms of what we would call a “good release.”
I’m defining a “good release” in general, I am not going into the nuance of what is “open source”, “open weights”, etc.
My own personal view on this is one would expect the following criteria for a phenominal release:
- The model weights (be it whatever licence it needs)
- The dataset it was trained on
- A demo utilizing the model
- A docker image of the training environment
The first three are being done in abundance now, and are centralized on the Hugging Face Hub itself.
Case in point, the BLOOM(z) models and datasets, as seen here.
But what about 4?
A tweet from the other day said it best:
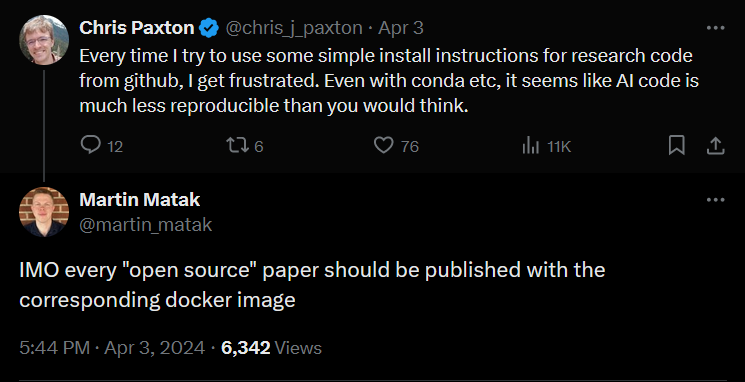
One of the biggest headaches for users after looking at a chunk of code is to actually run the damn thing which can always lead to a slew of dependency issues, especially as codebases get outdated.
The solution should be Docker, but how can we keep aligned with “one central location?”
Hugging Face x Docker
Hugging Face Spaces has supported the use of Dockerfile’s for a while and builds them on their own registry, see here.
However one key caveat that wasn’t working (until right now) is you couldn’t just build a Docker space without any app.
Or another way to put this, using the Hub as an alternative to Docker Hub.
As of today though, this is completely possible!
Let’s walk through what a typical workflow might look like:
- The dataset you’re training on has been uploaded to the HF Hub
- You train a model, and use
push_to_hub()to upload the model - Run
pip freezeto generate arequirements.txt, and checkpython -Vto grab your python version. - (Optional, but good): Check your CUDA drivers and report those as well
- Shove all of this into a single Dockerfile and push that to the Hub, permanently making your work 100% reproducable to the open-source community!
How to create a “Docker Space”?
Or better put as, how to add a docker image to the registry HF hosts? (We’ll see how to pull it down later)
The steps to follow are relatively straightforward.
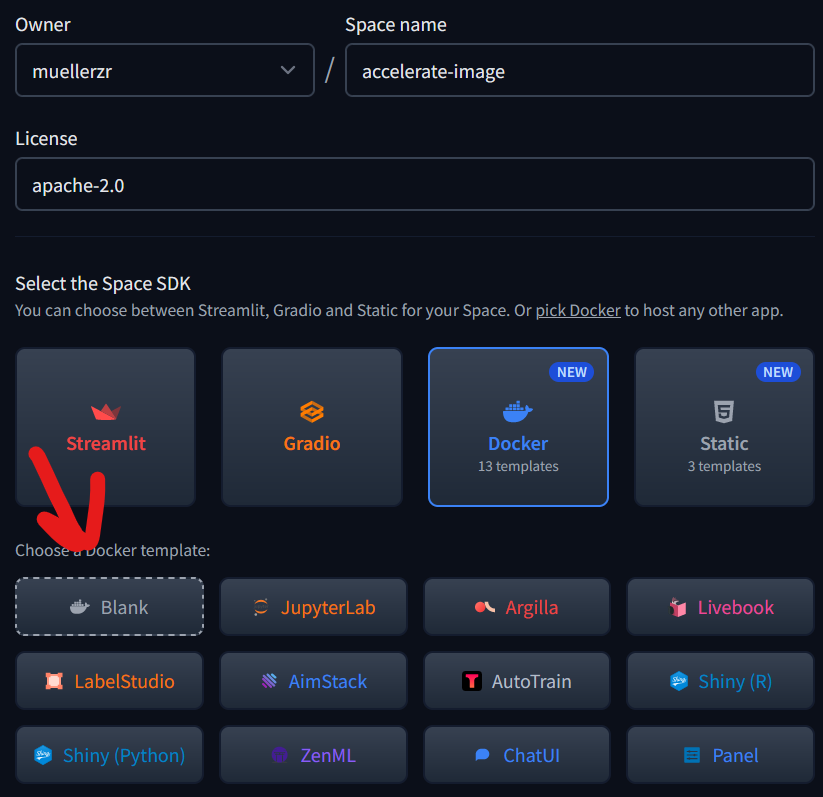
- From the huggingface.co webpage, create a new space.
- Specify the right settings to create a blank docker space
- Clone it down locally using
git clone {MY_SPACE_URL} - Add a
Dockerfileto cloned repo, and push it back up.
For my example here, I’m going to use the basic accelerate-cpu image and just build on it slightly:
FROM huggingface/accelerate:cpu-nightly

RUN echo "Hello world!"
After pushing it to the Hub, you should see your space being “built”. This doesn’t actually mean an app will run, but instead Hugging Face is building your Docker image and pushing it to their registry!
How do I pull down my image and run it?
Finally we’re at the good stuff. How do I grab my newly-created Docker image?
What’s the hosting URL like?
What tags can I have?
Let’s talk about that.
To pull down the image, the registry is registry.hf.space.
Your image is located based on the following format: * {USERNAME}-{REPO_NAME}:latest
Docker images are tagged with latest and by the commit-sha you pushed the updated Dockerfile to. It currently doesn’t support custom tags, as it will only be built from the main branch.
So here, we can pull down the newly created image by running:
docker pull registry.hf.space/muellerzr-accelerate-image:latestIf your Space is private, users will need to input their hf credentials
And that’s it! You can now push, host, and pull Docker images themselves on the Hub, allowing for an even further ability to open-source research results by including the full package in one centralized Hugging Face Collection:
- The model you trained
- The dataset you trained on
- A demo of the model
- A Dockerfile to allow for quick and easy local access to how you trained the model and the surrounding environment with it.
Final Thoughts
I truly hope that more teams and individuals start utilizing this side of the Hub more. Infra is never “fancy” or “pretty”, nor is it as buzz-sounding. But the community by-and-large will remember what models came packed with just the weights and a demo, and what ones came with not only this, but a fully containerized solution of the exact state they were doing everything in!